Levende
How to make a flipbook
Take a pad of sticky notes, or a stack of small sheets held together along one edge. Draw your first picture on the last page, near the loose edge. On the page above it, draw the same picture with a tiny change; the one underneath shows through the paper. Carry on like that until you reach the front. Then hold the bound edge and let the pages flick past your thumb from back to front, and the drawing moves.

What you need
- A pad of sticky notes is a ready-made flipbook: the glued strip is the binding. A small notebook works too.
- Or cut your own pages: fold a sheet of printer paper three times, cut along the folds, and you have 8 equal pages. Stack a few sheets’ worth and staple or clip one short edge.
- A pencil and a pen. Sketch in pencil, then go over the lines in pen so they show through the page above.
- 20 pages or more. Twenty is plenty for a first flipbook. With more pages the movement can be longer and smoother.
Step by step
- Draw the first picture on the last page, on the half away from the binding. That’s the part you see while the pages flip; anything near the binding stays hidden.
- Turn to the page above. Hold it up to the light, or lay the pad against a window, so the drawing underneath shows through.
- Trace whatever stays still, and draw the moving part a little further along. A few millimetres per page is plenty.
- Keep going, page by page, towards the front.
- Hold the bound edge in one hand and let the pages slip off the thumb of the other, from back to front. The faster you flip, the faster it moves.
- Staples or a clip hold one edge together.
- Draw on the outer half, the part you see while flipping.
- Start on the last page and work towards the front.
- Flip from the back to the front.
Easy first flipbooks
- A bouncing ball. It speeds up as it falls, flattens a little when it hits the ground and slows down again near the top. So draw it in small steps near the top and bigger ones near the ground.
- A stick figure that jumps: crouch, take off, up in the air, land, crouch again.
- A flower that grows from a dot into a stalk with petals. Only the ground line needs tracing.
- A face that blinks or smiles. Trace the face and change just the eyes or the mouth.
10 pages, one bounce
- 1
- 2
- 3
- 4
- 5
- 6
- 7
- 8
- 9
- 10
Tips
- Number the pages lightly in a corner before you start, so you can always find your place.
- Flip the last few pages now and then while you draw. You’ll see straight away if something jumps too far.
- Trace the ground line in the same place on every page, so the picture doesn’t wobble.
- To share it, film it: prop the phone on a stack of books and film while you flip. In slow motion you see each drawing for longer. Or photograph the pages one by one, and you’ve made stop motion with drawings.
On a screen instead
An animation app does the same on screen: you can see the page underneath through the one you’re drawing on (onion skin). FlipaClip is a popular free one for iPhone, iPad and Android; the paid FlipaClip Plus adds more layers and some export formats.
And if your child has one drawing they’d like to see move without drawing it twenty more times, that’s what I made Levende for. You scan the drawing, the iPhone cuts it out and gives it a skeleton, and then it can walk, jump or dance: there are 20 moves to choose from. You can record up to 30 seconds of it as a video.
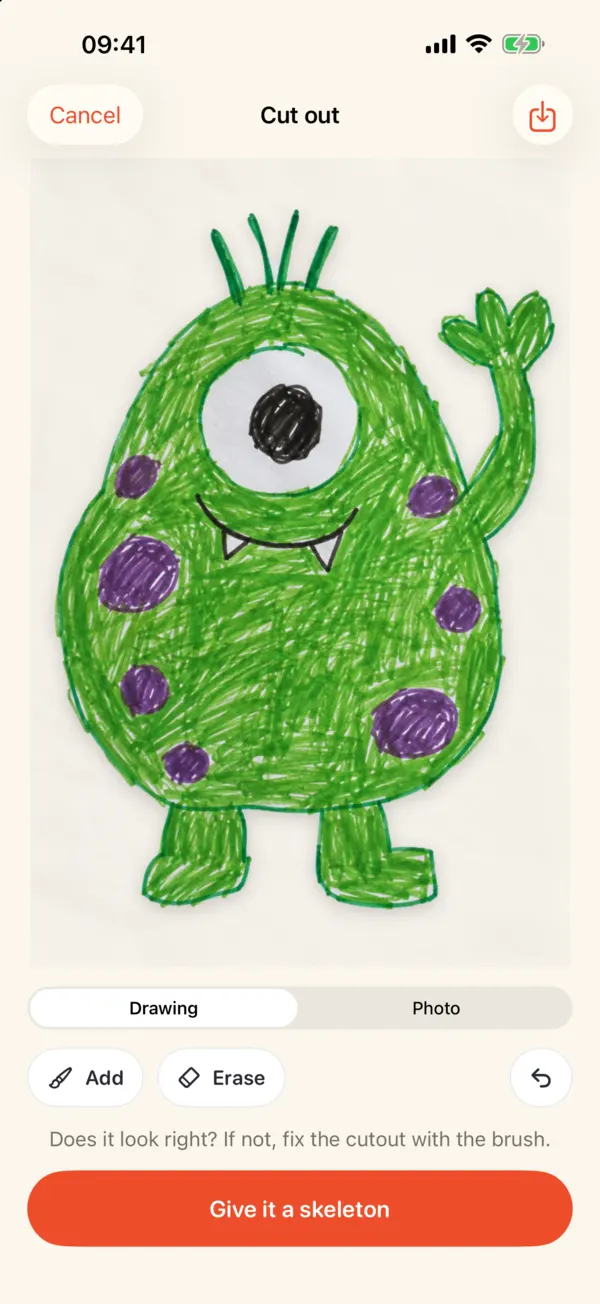 1Scan a drawing and the figure is cut out
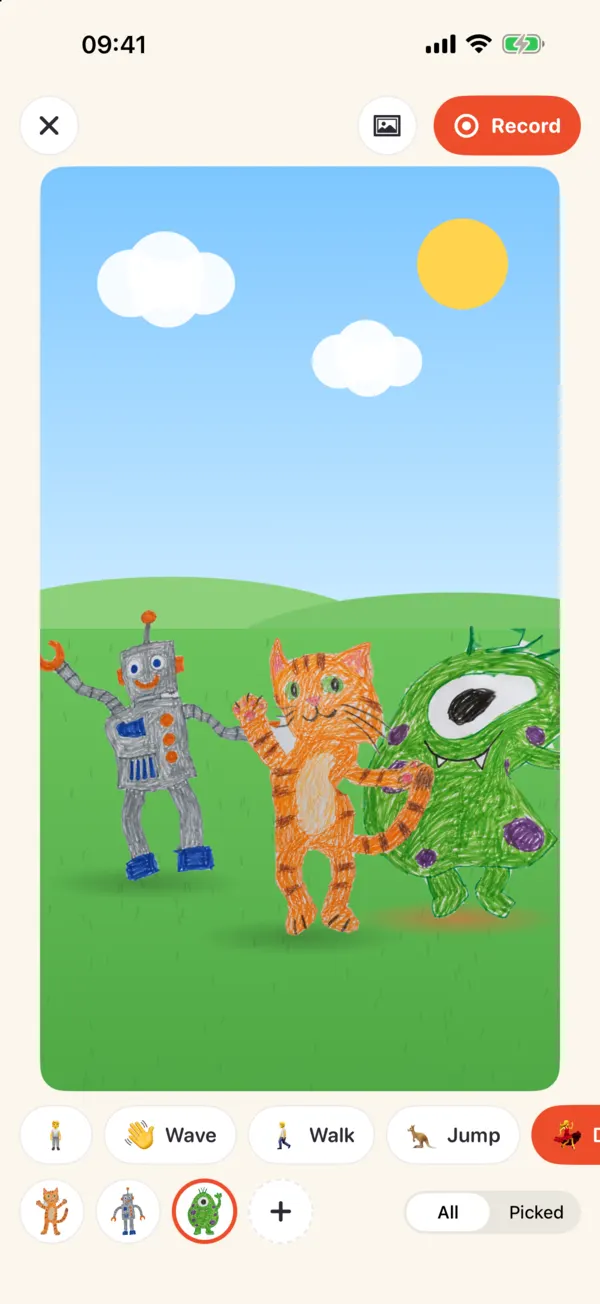 2Pick one of 20 moves3Record a video of up to 30 seconds
- Scan a drawing and the figure is cut out
- Pick one of 20 moves
- Record a video of up to 30 seconds
Levende costs $1.99, once, with nothing else to buy. There are no ads and no account, and the drawing stays on your iPhone or iPad. The steps are in how to animate a drawing.